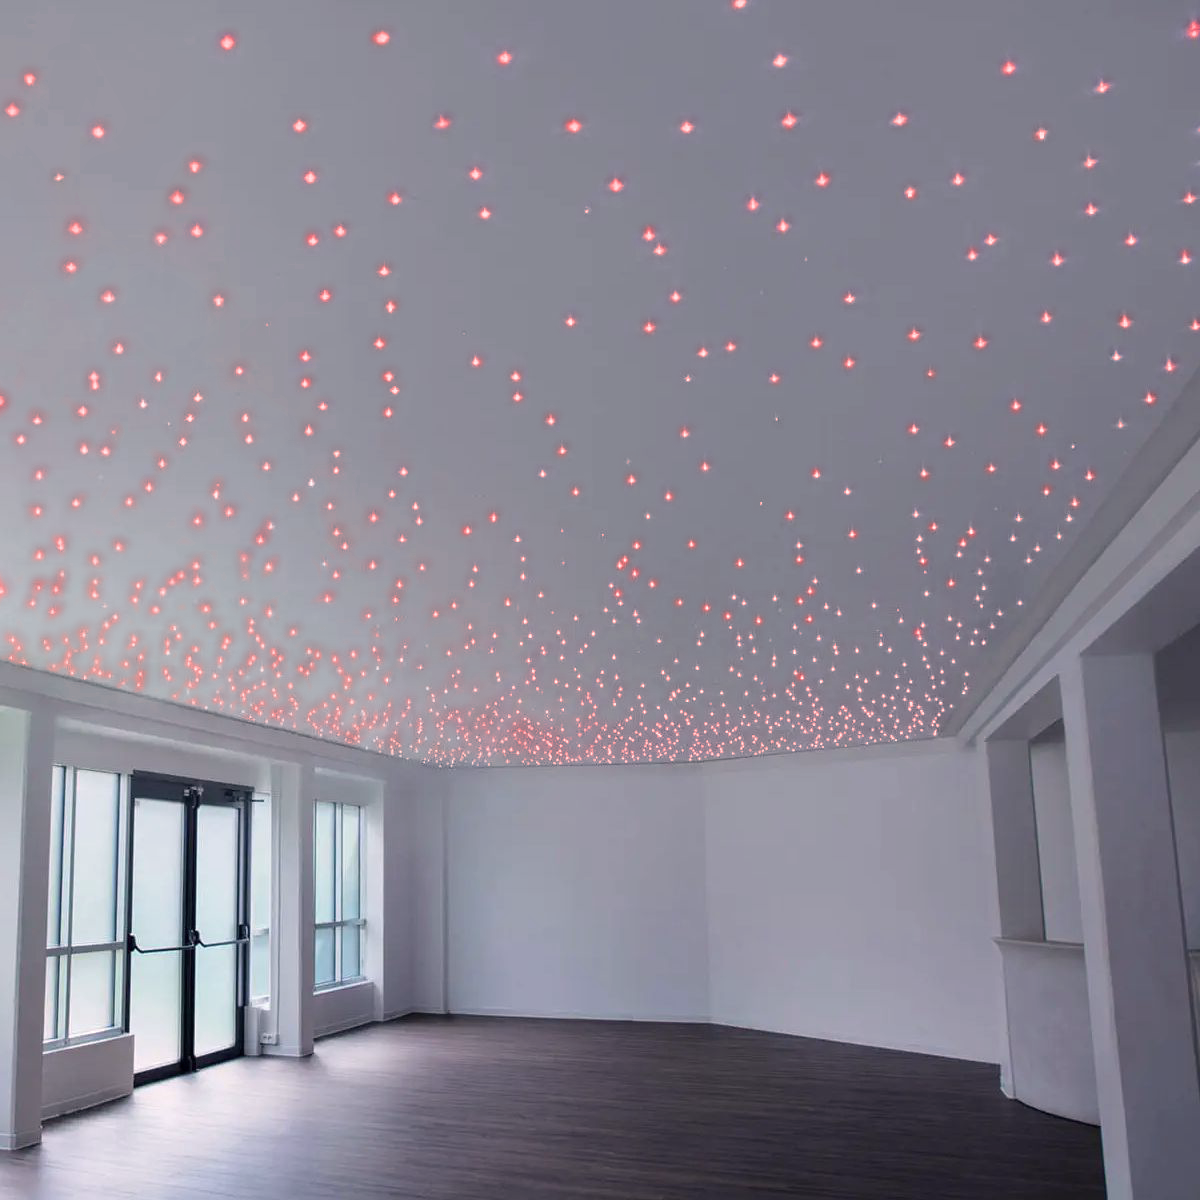


























You are about to make your dream of sleeping under the stars a reality, but you've hit a wall with the most common question: "How many light points do I need so the ceiling doesn't look empty and sad?".
It's a fundamental question. Getting the LED density wrong means ruining the final effect: too few look like isolated spots, while too many create a chaotic "Christmas light" effect.
In this article, we reveal the mathematical rule we use at Oniroview to design professional starry ceilings and show you 3 layout schemes for a "wow" result.
(Note: If this is your first time and you aren't sure how to connect the wires or drill into drywall, read our main technical guide first: How to build an LED starry ceiling)
The Mathematics of the Starry Ceiling: How Many LEDs per Sqm?
Forget guesstimates. The right unit of measure is density: the number of light points per square meter of the surface you want to decorate, which isn't necessarily the entire ceiling. The reasoning is simple: lying in bed with the ceiling at 2.70 m, your eyes frame about 4.5 m² of the ceiling. As long as you see fewer than twenty stars in that area, your eye counts them one by one; beyond 25-30, it stops counting, and your brain perceives a sky. This leads to three density classes:
| Density | Average distance between points | Effect | Ideal for |
|---|---|---|---|
| 3-4 per m² | 50-58 cm | Constellation: stars are countable | Hallways, subtle effect, drawn constellations |
| 5-7 per m² | 38-45 cm | Sky: the eye stops counting | Bedrooms (the standard: 6 per m²) |
| 8-10 per m² | 32-35 cm | Milky Way: immersive | Home cinemas, dense clusters |
Beyond 10 points per m² you drift into the string light effect. Two extra rules that few tell you:
- Ceiling height changes the math. The closer the ceiling is, the less surface you frame and the more points per m² you need. The minimum density for a sky effect is about 24 ÷ D², where D is the distance between your eyes and the ceiling: with a 2.70 m ceiling and a person lying down (D = 2.1 m) you need about 5.5 points per m²; with a 3 m ceiling, about 4 are enough; with a dropped ceiling at 2.40 m, you need about 7.5.
- At full power, a starry sky illuminates the room. At 6 points per m², the light reaching the floor is about 120 lux, the same as a normal living room light. For a night effect, you need a dimmer to lower the intensity.
Here is the practical plan to follow based on the surface to decorate:
1. Small Room or Specific Areas (up to 10 m²)
If you need to light a children's bedroom, a bathroom, or just create a panel above the master bed.
- Recommended LED count: 50 light points.
- Expert tip: Don't go below 40 LEDs, otherwise the "sky" perception is lost.
- Ideal solution: 50-point LED starry sky kit (Transparent or Silver version).
2. Standard Master Bedroom (10 – 18 m²)
The classic size of an Italian bedroom. Here you need more density to cover the visual volume.
- Recommended LED count: 80 – 100 light points.
- Expert tip: This is the best-selling configuration. It allows you to cover the central area well while leaving the edges more faded.
- Ideal solution: 100-point LED starry sky kit (Or combining two 50-point kits).
3. Large Spaces and Home Cinemas (18 – 25 m²)
Living rooms, basements, or cinema rooms where the ceiling is vast.
- Recommended LED count: 120 – 150 light points.
- Expert tip: In these spaces, it is essential to work in zones, concentrating the LEDs where needed. Beyond 25 m², it is better to decorate one zone, not the entire ceiling.
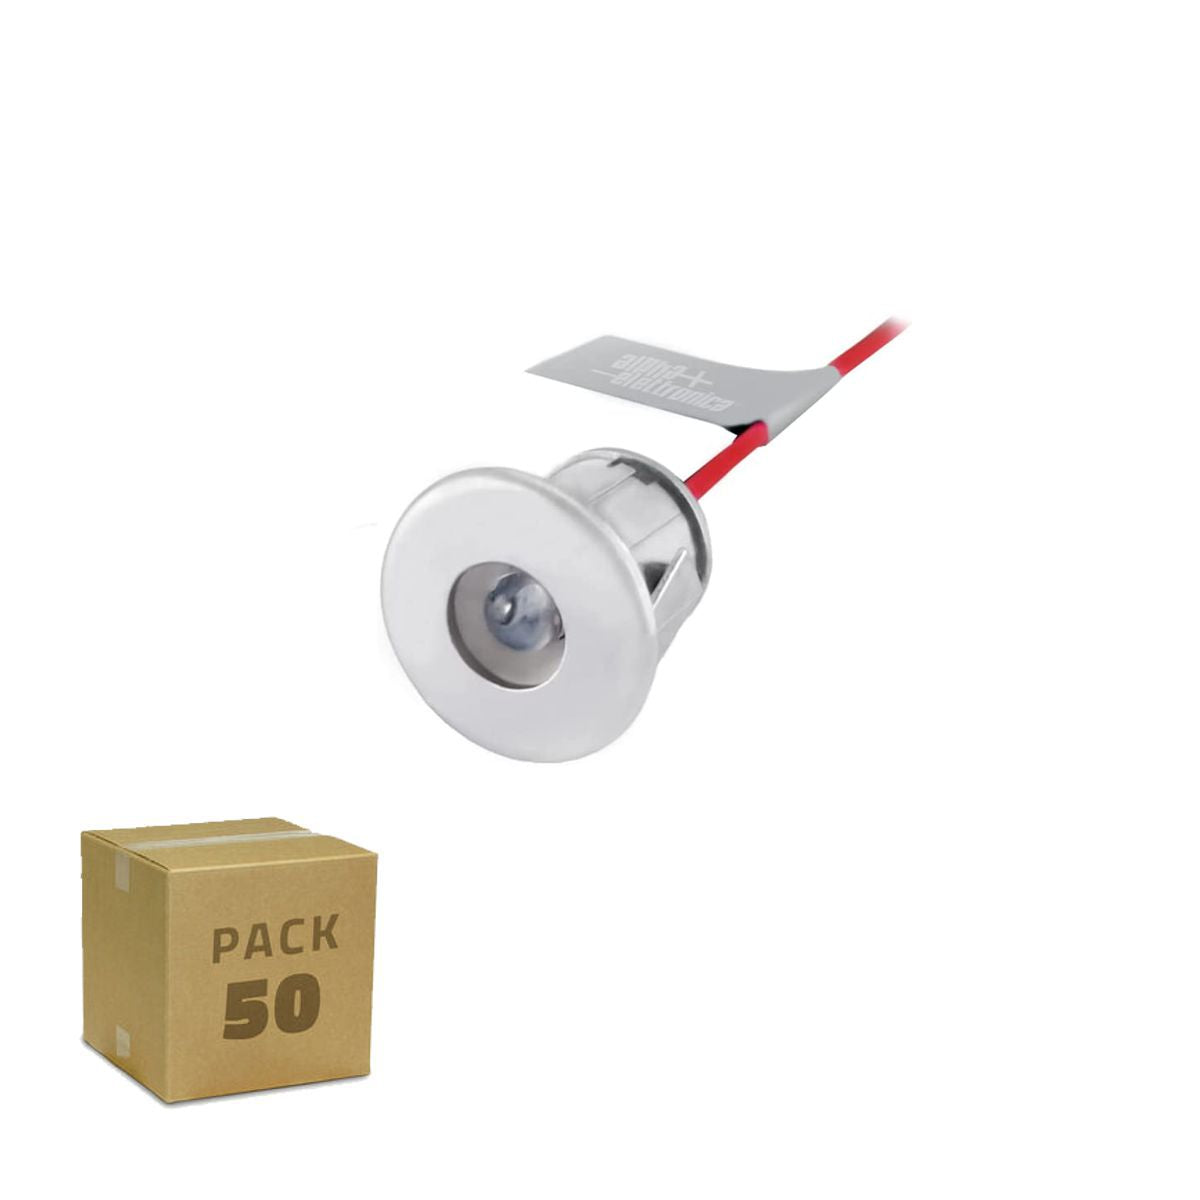
- Ideal solution: 150-spotlight kit with a 60W stabilized 12V power supply, plus Individual mini spots to add extra light points in shadowed areas.

3 Layout Ideas: How to arrange the stars?
Having the right number is only the beginning. Now you must decide where to drill into the drywall. Definitely avoid a "geometric grid" (ordered rows): stars in nature are random!
Here are 3 layouts tested by our customers:
1. The "Central Band" (Milky Way Effect)
Instead of scattering LEDs across the entire ceiling, concentrate 70% of the light points in a diagonal or irregular band that crosses the room. In practice, if the band occupies 40% of the ceiling, the density there will be about 1.75 times the average: a 6 points per m² sky becomes a 10-point Milky Way in the band and about 3 at the edges.
Why choose it: It creates depth and makes it seem as though the ceiling is "open" to infinity. Excellent for hallways or above the bed.
2. The Spiral
Start from the center of the room (or around the chandelier) with a very high density and widen out towards the walls, thinning out the light points.
Why choose it: It simulates a galaxy and guides the eye towards the center. Perfect for square rooms.
3. Real Constellations
Use an astronomical map. Take the 50-point LED starry sky kit and use 7 LEDs for the Big Dipper, 5 for Cassiopeia, and use the others as background stars.
Technical Tip: For constellation stars, you can use our Cool White light mini spots (brighter) and use Blue light spots for the distant background.
Can I add LEDs later?
Technically yes, but it is not recommended. You would have to drill into the finished drywall again, risking damage to the paint, and redo the wiring in awkward positions. Our advice? When in doubt, go for more.
If you are undecided between 50 and 80 LEDs for a 13m² room, choose the 100-point LED starry sky kit directly. If you have some left over, you can leave them in the ceiling cavity or use them to densify a corner. Better 10 extra stars than an empty sky. You can find all our kits, shades, and accessories in our selection of LED starry sky kits.
Have you chosen your layout? Here are the right Kits
💡 Up to 10m²

50 Light Point Kit
Ideal for bedrooms, bathrooms, or bed areas. Includes power supply.
💡 From 10 to 18m²

100 Light Point Kit
Complete coverage for master bedrooms and living rooms.
💡 Integration

Individual Mini Spots
To add extra light points or create specific constellations.