


























Projector Mounts
Filter
Sort by:


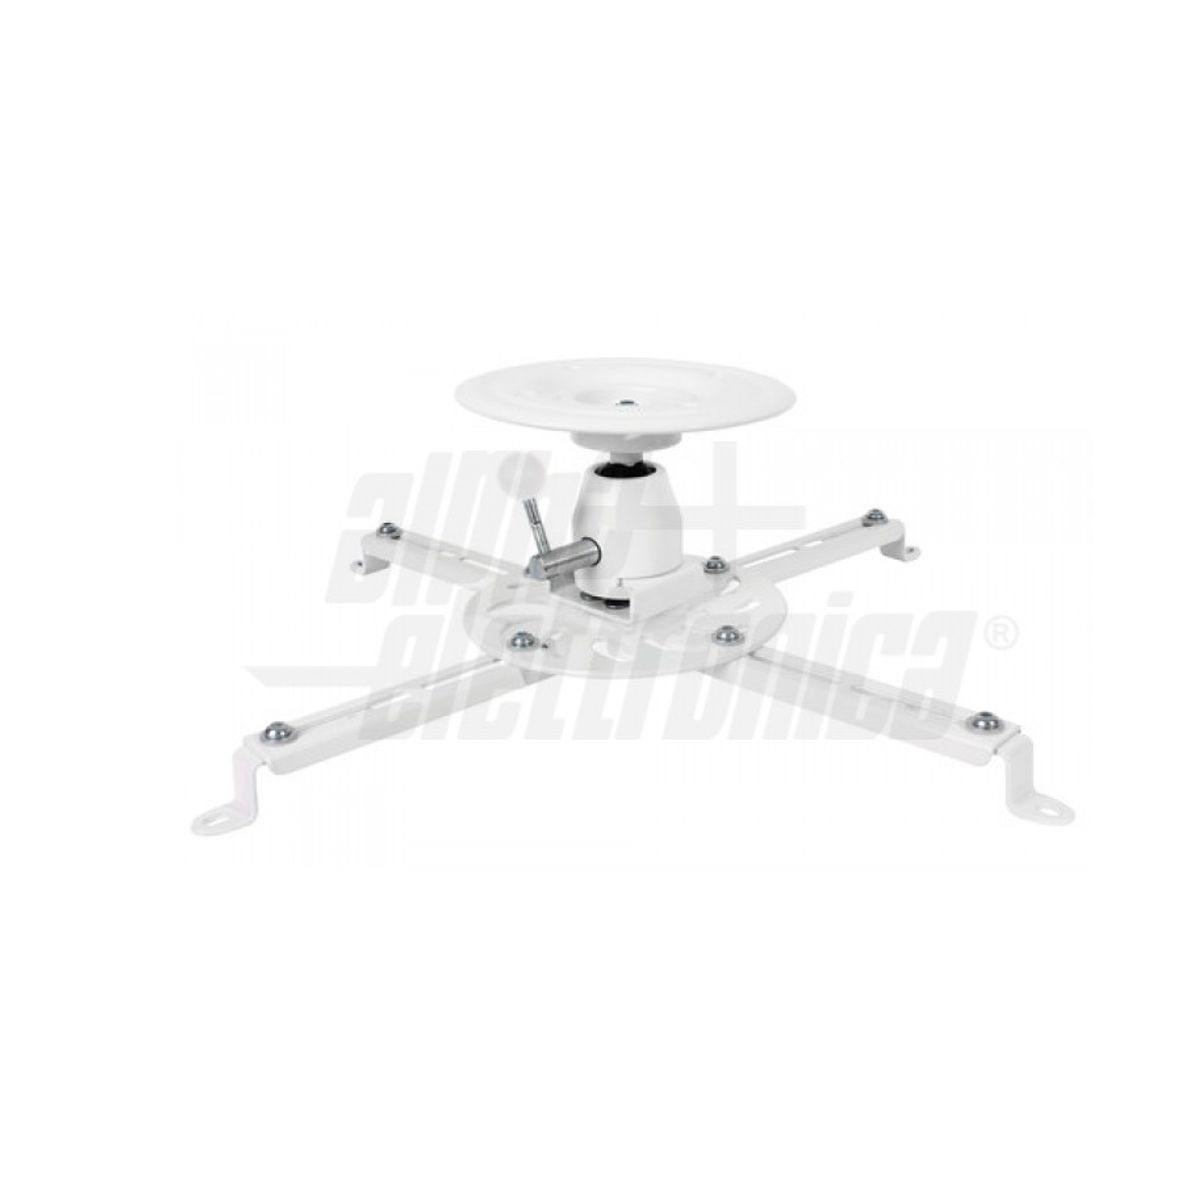

Projector mounts: distance first, bracket second
With a television, the mount is chosen based on screen size. With a projector, the order is reversed: first you establish where the projector goes, because that position is dictated by the optics and the image size you want, and only then do you choose the bracket to hold it there. The telescopic range—i.e., how far the bracket drops from the ceiling—is therefore the first data point to look at, not a minor detail.
Selection table
| Situation | Bracket |
|---|---|
| Low ceiling, flush-mount projector | Low-profile fixed bracket, capacity up to 25 kg |
| Standard ceiling, small drop required | Telescopic 29-37 cm |
| Meeting room or classroom, high ceiling | Telescopic 40-62 cm |
| Very high ceiling, warehouse, conference hall | Telescopic 60-102 cm |
How to calculate the position
You need two numbers, both found in the projector's manual. The throw ratio is the ratio between the distance from the screen and the image width: a throw ratio of 1.5 means that for an image 2 meters wide, the projector must be placed at 3 meters. The lens shift—or vertical offset in models without lens shift—tells you instead how much the image moves vertically relative to the lens axis: this is the figure that determines how far the bracket must drop so the image falls on the screen without having to tilt the projector.
Tilting the unit to make the math work is the classic mistake: you can fix it with keystone correction, but that works digitally and discards resolution. It is better to spend ten minutes on the positioning than to watch a resampled image for years.
Pro tip. Ceiling-mounted projectors must be inverted, and almost everyone forgets this until the moment of installation: remember to set the "ceiling" mode in the menu, otherwise the image will remain upside down. Second point, the real cost: the projector sucks in dust and must be cleaned, and lamps need to be changed. A bracket dropping from a four-meter ceiling means needing a scaffold every time. If you can, plan the maintenance access point during the design phase. Third: HDMI and power cables must be brought into the false ceiling beforehand, and for long runs you need an HDMI cable certified for that distance, not the one that came in the box.
Frequently asked questions
Is the bracket compatible with my projector?
The brackets in this section are universal with adjustable arms: they adapt to the spacing of the threaded holes found on the bottom of almost all projectors. Measure the distance between the holes and compare it with the arm range indicated in the product sheet, and check the weight as well.
How far should it drop from the ceiling?
It depends on the projector's offset and the screen's height. In practice: the higher the ceiling is relative to the top edge of the screen, the more drop you need. Telescopic brackets cover different ranges for this exact reason, so the measurement must be taken before ordering.
Can I mount it on a plasterboard false ceiling?
Not on the drywall itself. It must be anchored to the load-bearing structure above, or to the structural slab using threaded rods that pass through the false ceiling. A projector hung from two anchors in plasterboard is a risk not worth taking.
Do I also need a bracket for the screen?
It depends on the type of screen: drop-down models, whether manual or motorized, come with their own dedicated brackets. If you are planning the complete installation, write to us with the room dimensions; it is faster than trying to fit the pieces together later.
See also ceiling TV mounts, HDMI cables, and TV stands with projector mounts.