


Have you ever dreamed of falling asleep under a blanket of stars, right in your bedroom? Do you always think: how to make a starry sky on the ceiling?? Creating an LED starry sky at home is not just a design trend: it's a satisfying DIY project that completely transforms the atmosphere of a room.
In this comprehensive technical guide, we will explain step-by-step how to install our LED Starry Sky Kits on plasterboard. From drilling to electrical wiring, here's everything you need to know for a professional result.
Phase 1: Design and Required Materials
A common mistake is to start drilling holes in the ceiling at random. Stop. A successful starry sky starts on paper. First of all, you need to decide the density of the stars.
How many LEDs do you need?
There is no fixed rule, but for a realistic effect, we recommend approximately 6-10 light points per square meter.
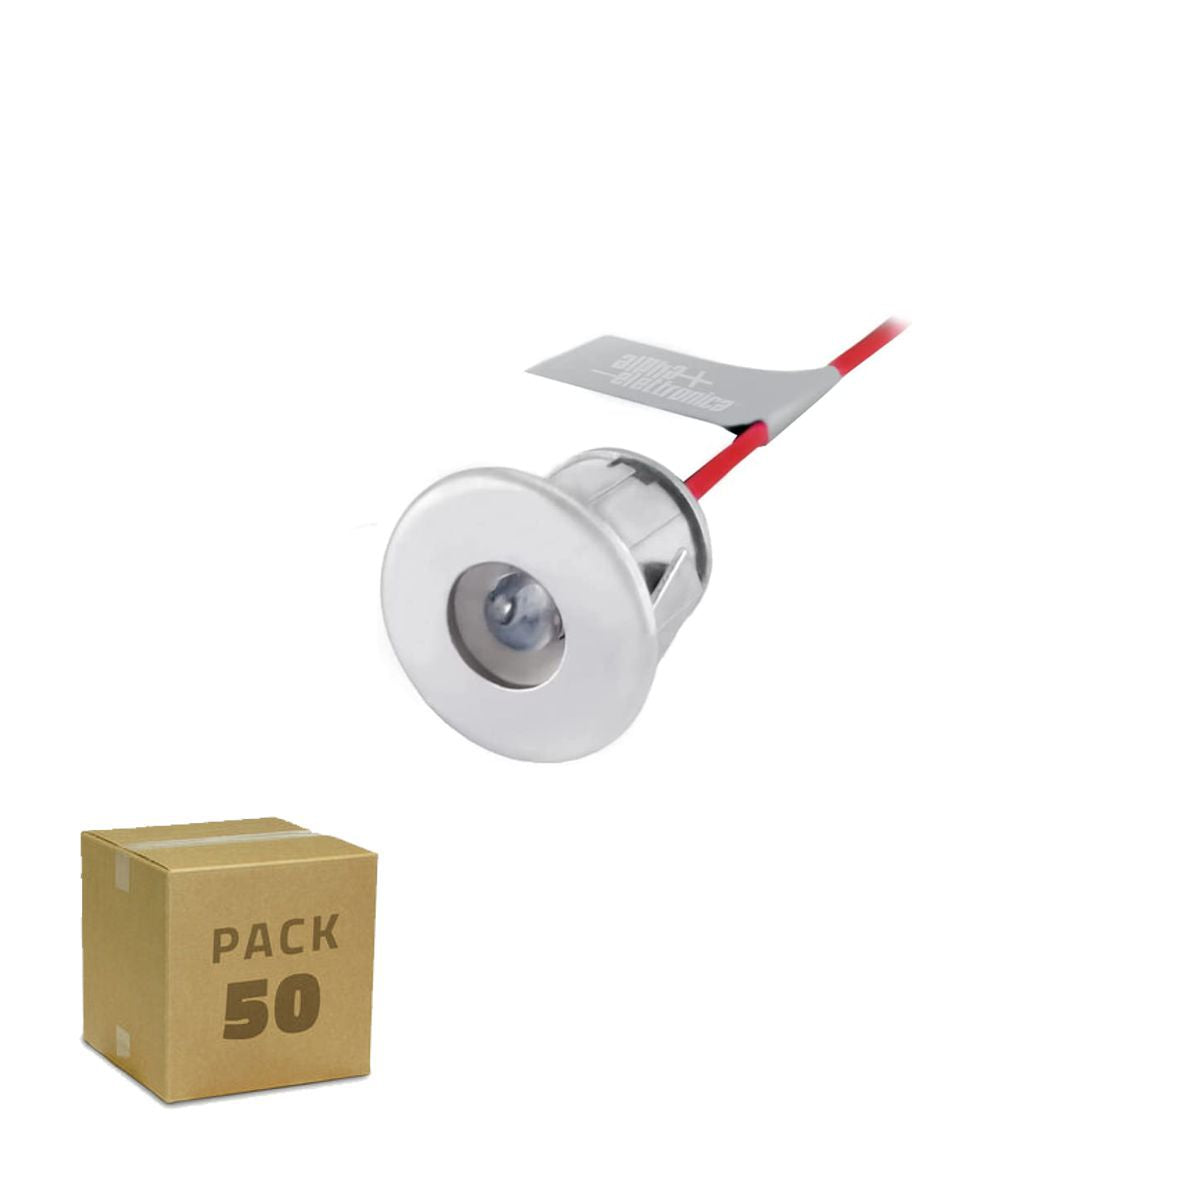
- Small rooms (8-12 sqm): The Oniroview 50-piece Starry Sky Kit is usually sufficient to create a dense area above the bed.
- Large rooms or Home Cinema (>15 sqm): You will need the 100-piece Starry Sky Kit to cover the entire surface without leaving empty "holes".
If you are unsure about the precise number or want to see room-by-room calculation schemes, read our practical guide to calculating light points.
The Shopping List (What you need)
To work safely and quickly, make sure you have:
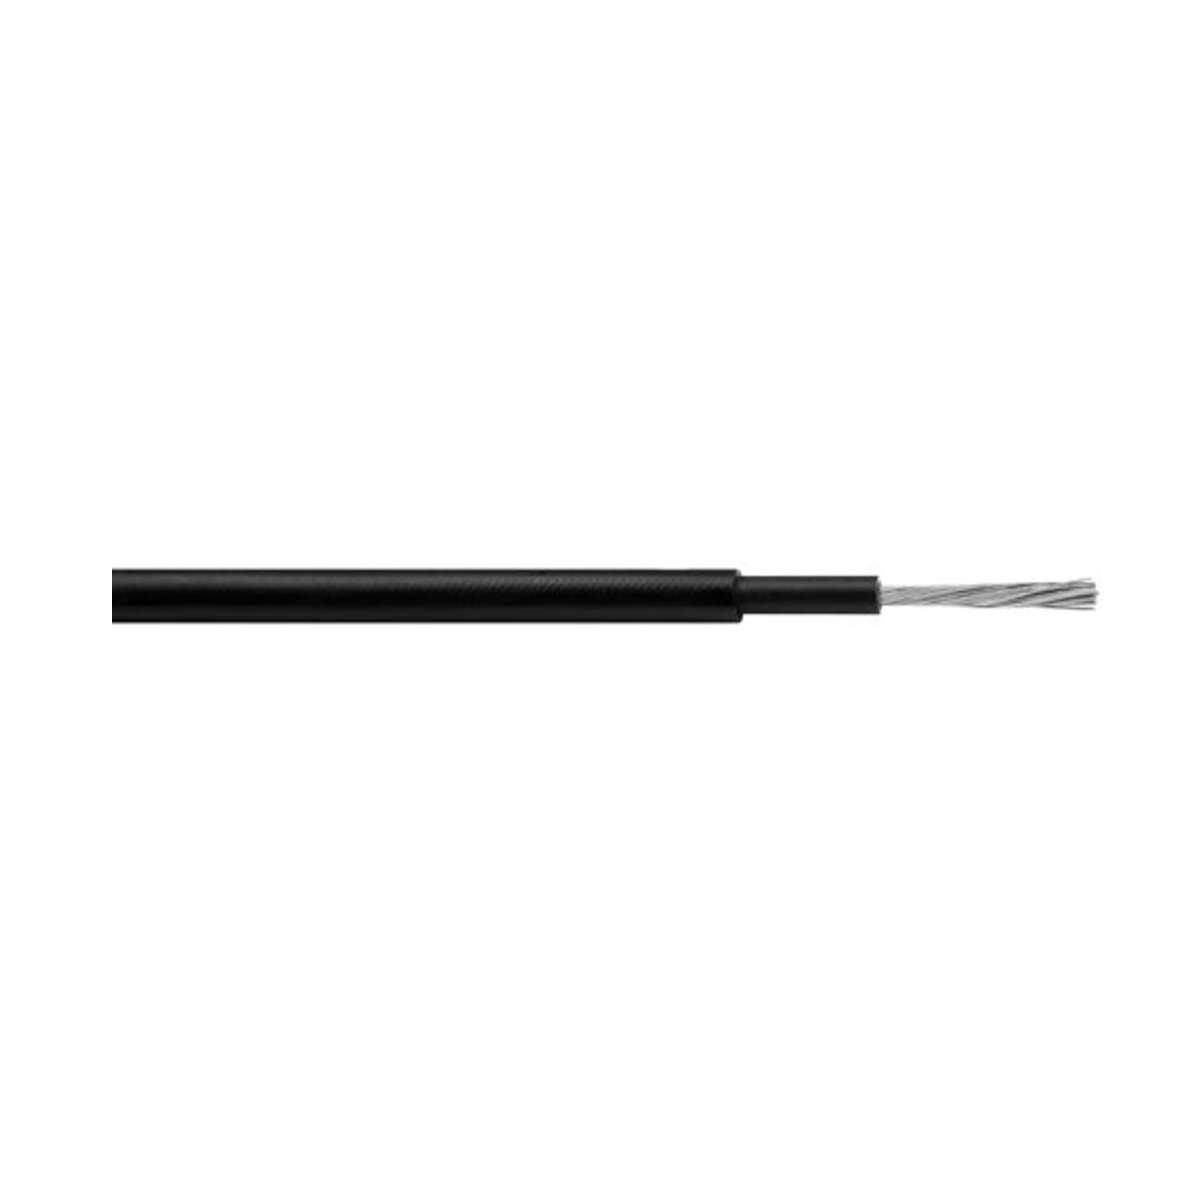
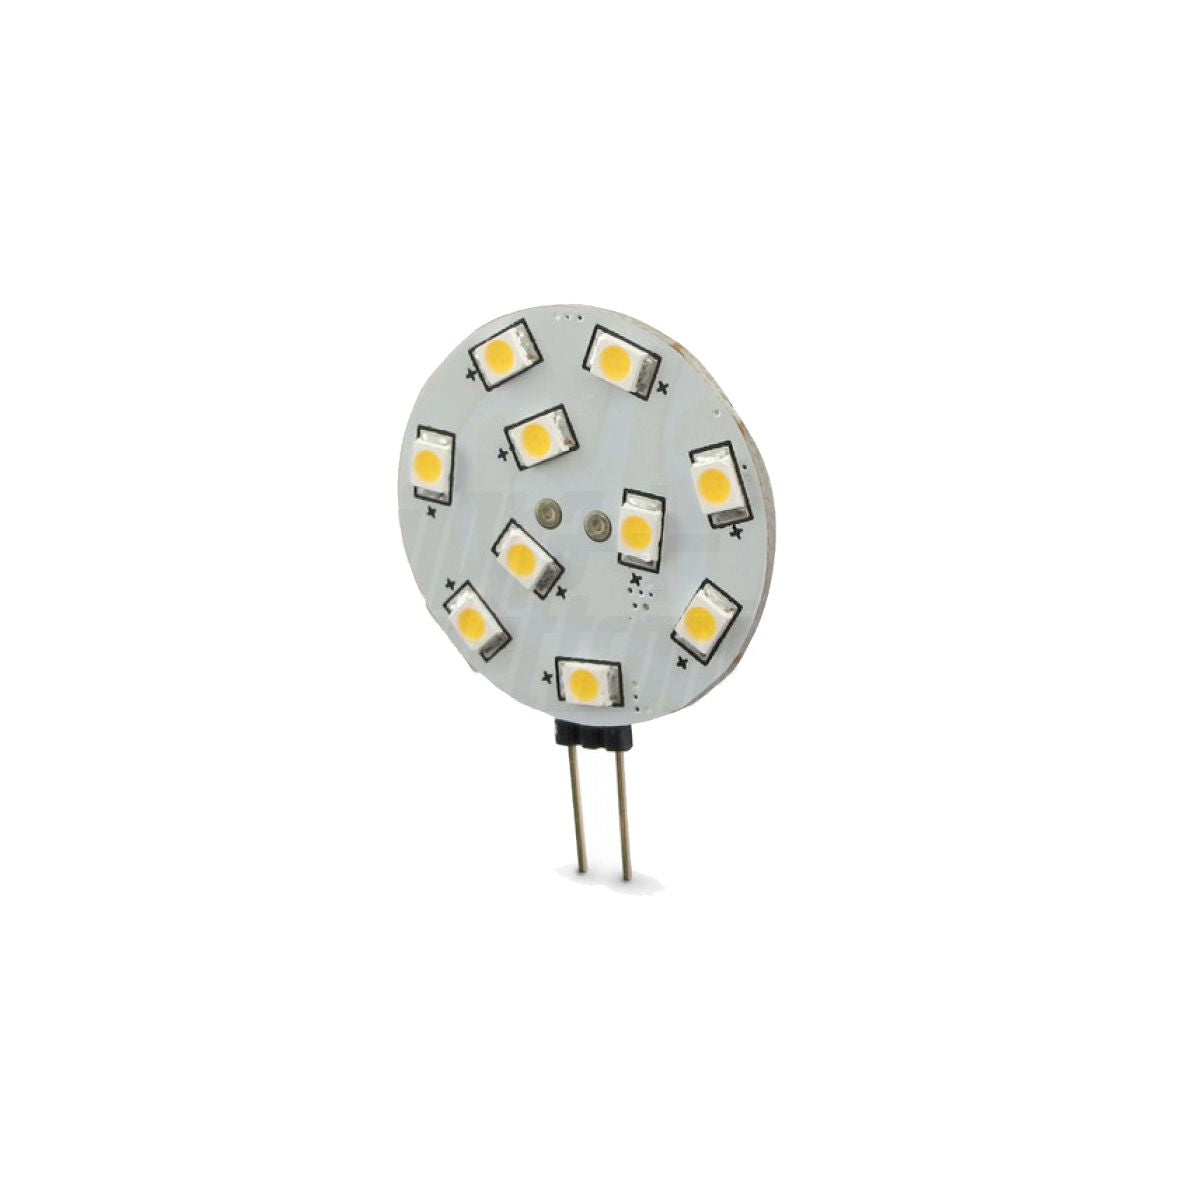
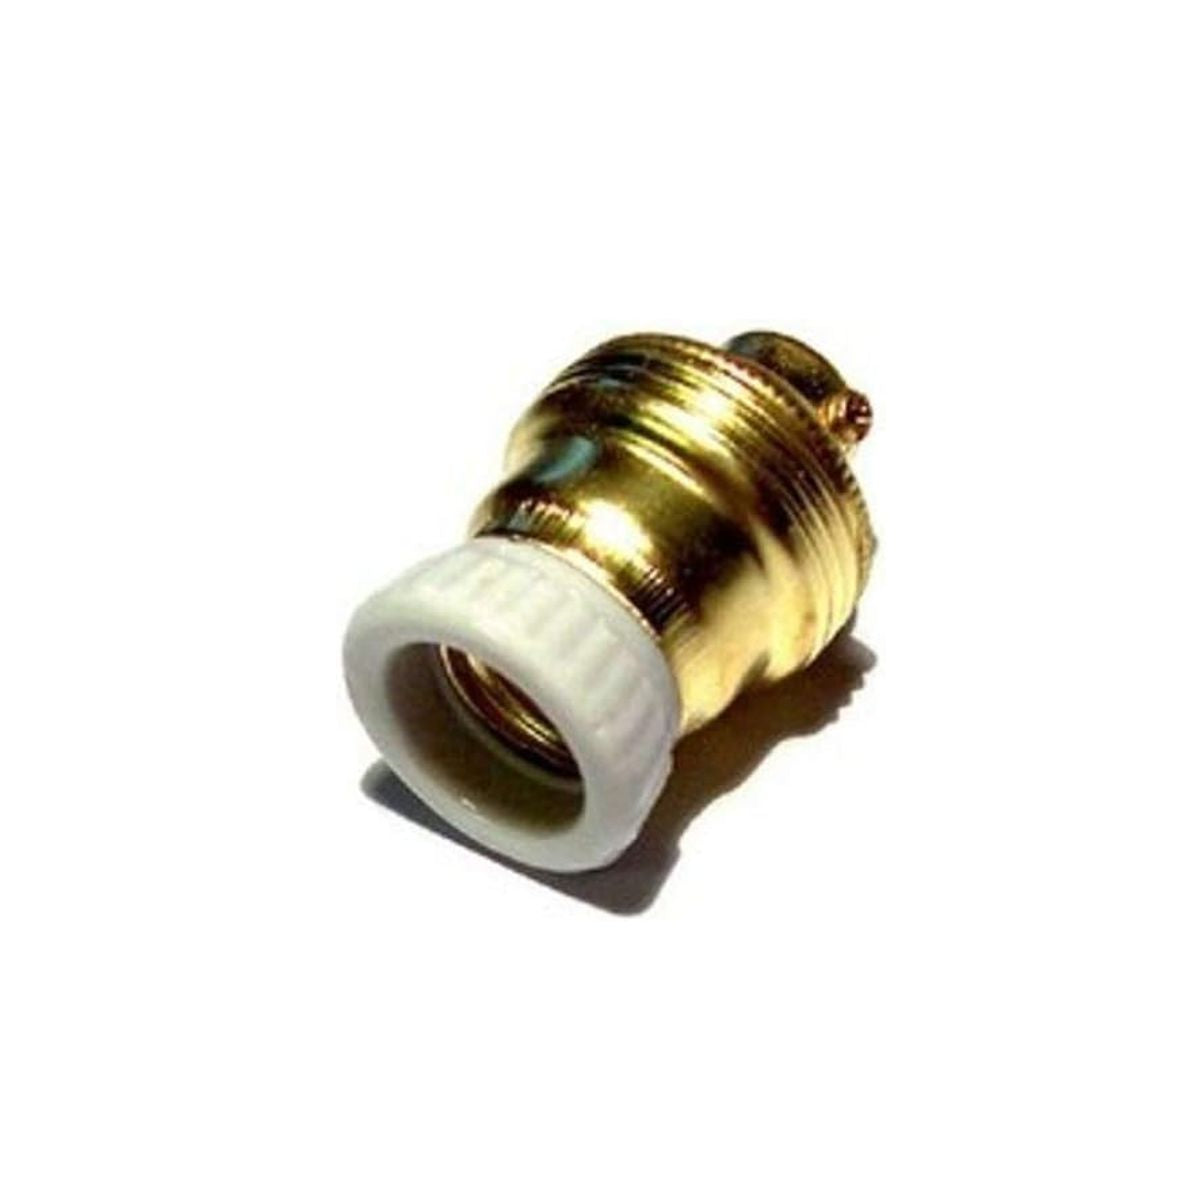
- The LED Kit: Includes mini spots (cool white, blue, or mixed light), polarized cable, and power supply.
- Drill and 13mm bit: Essential. Oniroview spotlights are calibrated for an exact 13mm hole. Do not use 10mm or 15mm bits, or the spotlights will not fit.
- Wiring Accessory Kit: Cap connectors, cable ties, and extra cables. We highly recommend our Wiring Accessory Kit for a clean job.
- Plasterboard Panel: Preferably accessible from the back (or an inspectable false ceiling).
Phase 2: Layout and Drilling
Draw the points where the LEDs will go on the plasterboard (with a light pencil). You can create real constellations (like the Big Dipper) or a random pattern.
Pro Tip: Avoid perfect geometric grids. Stars in nature are chaotic. Vary the distances between points for a natural effect.
"Looking for design inspiration for your bedroom? Here you'll find ideas and measurements for positioning the stars above the bed." (We will link Article #2 here)
Drilling the holes
Use the 13mm drill bit. Drill gently to avoid tearing the plasterboard paper. Once the holes are made, insert the spotlights by pressure: the side wings will hold them firmly in place.

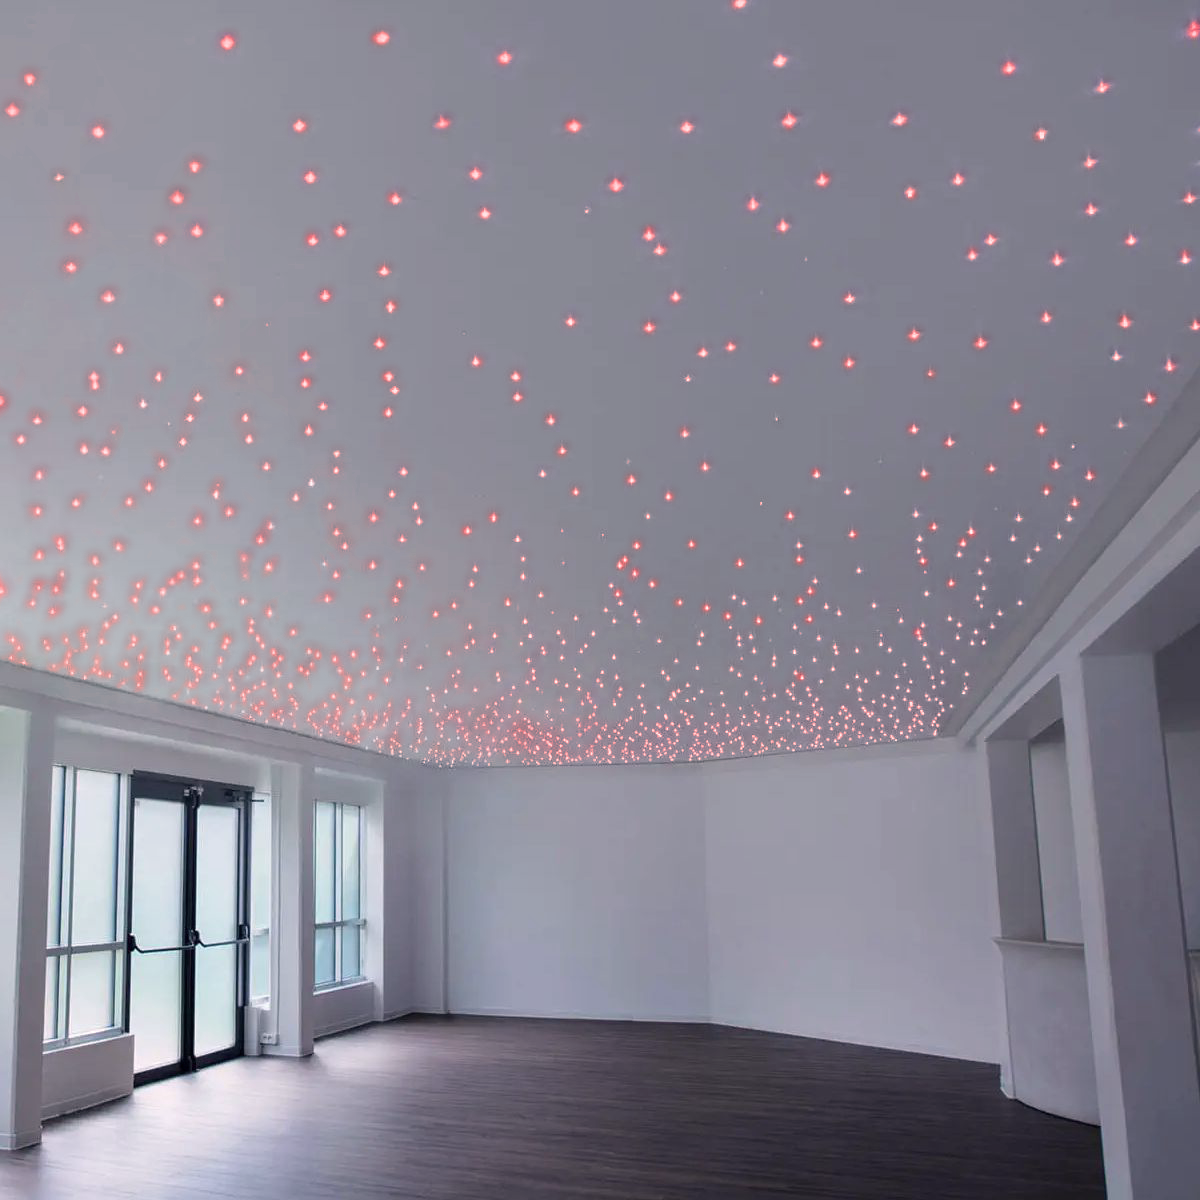
An example of the final effect after drilling and installation.
Phase 3: Wiring (The technical part)
This is where many get scared, but the Oniroview system is designed to be simple. The spotlights must be connected in PARALLEL.
- Each spotlight has two wires: Red (+) and Black (-).
- Create a "main line" with the red and black cable provided in the kit that runs along the entire ceiling.
- Lightly strip the main line at each spotlight.
- Connect all RED wires of the spotlights to the RED cable of the main line.
- Connect all BLACK wires of the spotlights to the BLACK cable of the main line.
- Use caps or connectors to insulate each joint.
Never reverse the poles! If you connect red to black, the LEDs will not light up (and you could damage them).
Also, remember that you are working with 12V on the spotlights, but the power supply needs to be connected to the 220V mains: always disconnect the main power before connecting the power supply to the grid!
Phase 4: Power Supply and Dimmer (Optional)
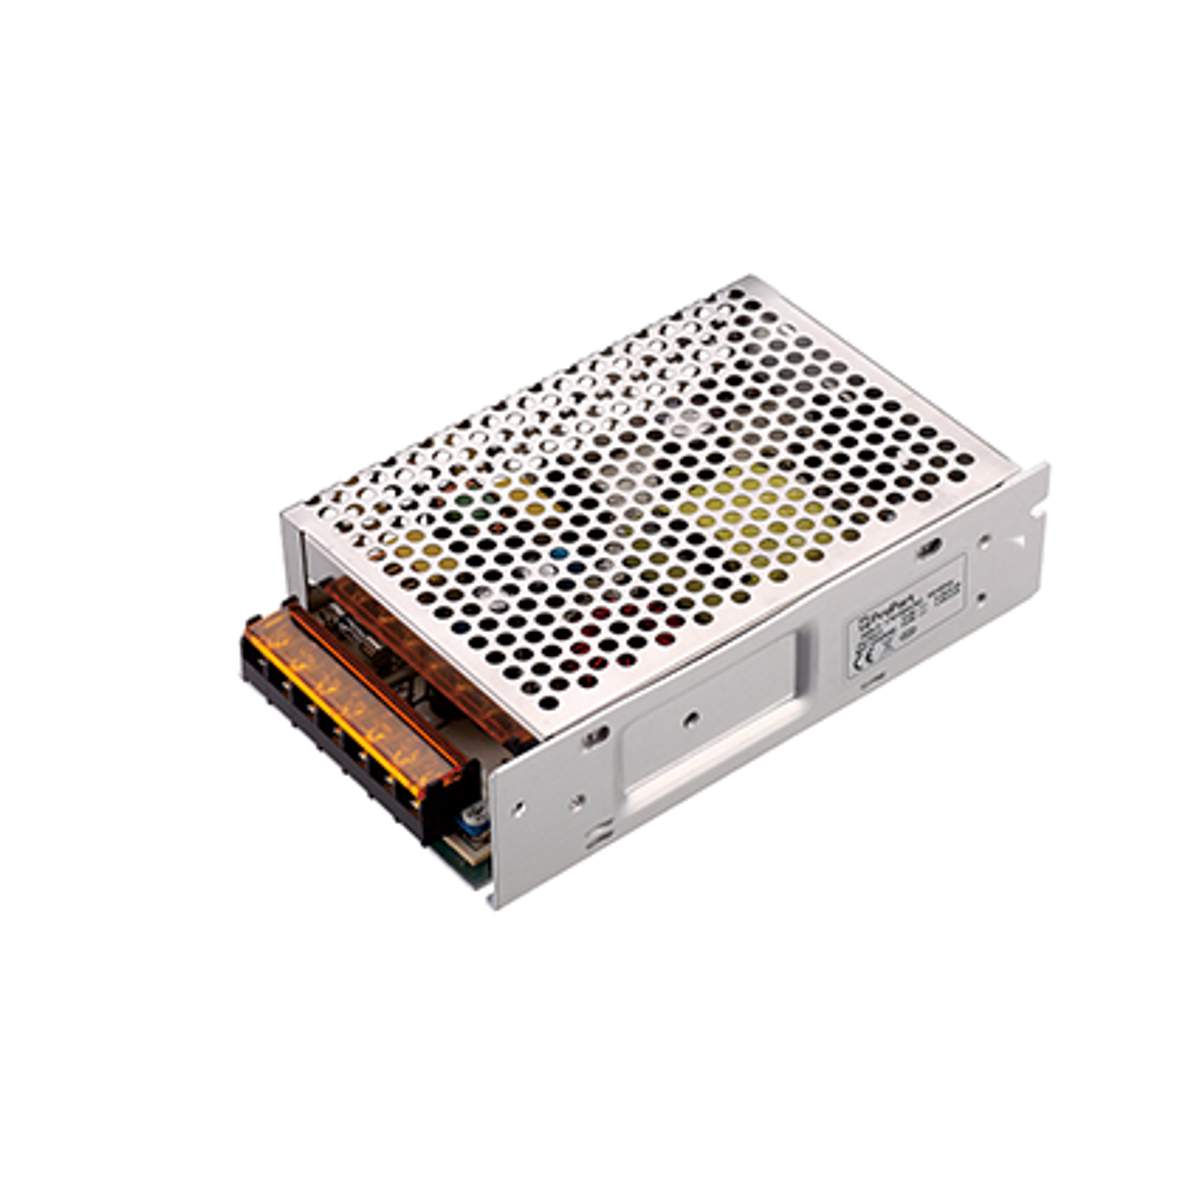
Now connect the beginning of your "main line" to the power supply included in the kit (12V output).
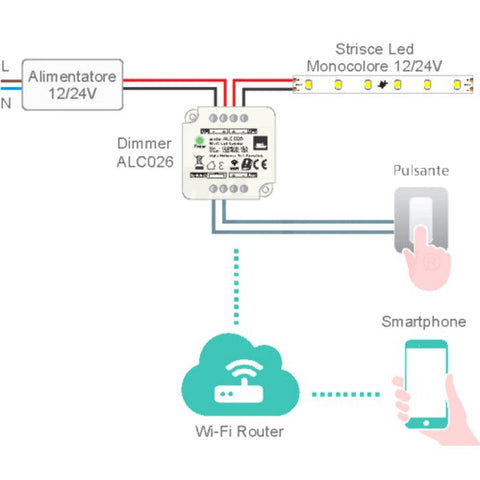
Correct wiring diagram with optional Dimmer.
Want to adjust the intensity?
A fixed starry sky is beautiful, but one that "breathes" is magical. You can insert a Dimmer between the power supply and the spotlights.
- Basic Solution: Use our 503 box Dimmer with a physical button.
- Smart Solution: Want to say "Alexa, turn on the stars"? Choose the Smart Wi-Fi Dimmer compatible with voice assistants.
"Want to learn how to make your starry sky smart? Read the complete guide to home automation controls here." (We will link Article #5 here)
Common Problems and Solutions
Have you connected everything, but it's not turning on? Don't panic.
- No LEDs light up: Check that the power supply is receiving 220V power and that the output polarity (+/-) is correct.
- Some LEDs are off: Check the connectors of those individual spotlights; a cable probably isn't making good contact.
- LEDs flicker: The power supply might be overloaded (too many LEDs) or the dimmer is incompatible.
"Something went wrong? Consult our troubleshooting guide to resolve buzzing and malfunctions." (We will link Article #6 here)
How much does it cost to make it?
Creating a DIY starry sky is much cheaper than you think compared to calling a specialized plasterboard installer.
"Find a detailed cost analysis for a DIY vs professional starry sky here." (We will link Article #7 here)
Conclusion
Building a starry sky requires some patience with wiring, but the final result will amaze anyone who enters the room. By using quality components like Oniroview kits, you ensure durability and safety for your project.
Ready to start?
Choose the LED Starry Sky Kit suitable for your room here