Transform your home with the Analogue Timer: the magic of home automation accessible to all!
Have you ever dreamed of controlling the light on your bedside table or the brightness of your tropical plants' grow lights with the precision of a magician? Maybe the term "home automation" still sounds like a distant spell for your home, but there is a little-known ally ready to add a touch of modernity to your space: the Analog Timer, what it is, how it works.
In a world still linked to analogue, there are accessories that can solve our daily problems in a simple and economical way, without the need for complicated installation.
Discover the Power of the Analog Timer: Customized Lighting for Your Life!
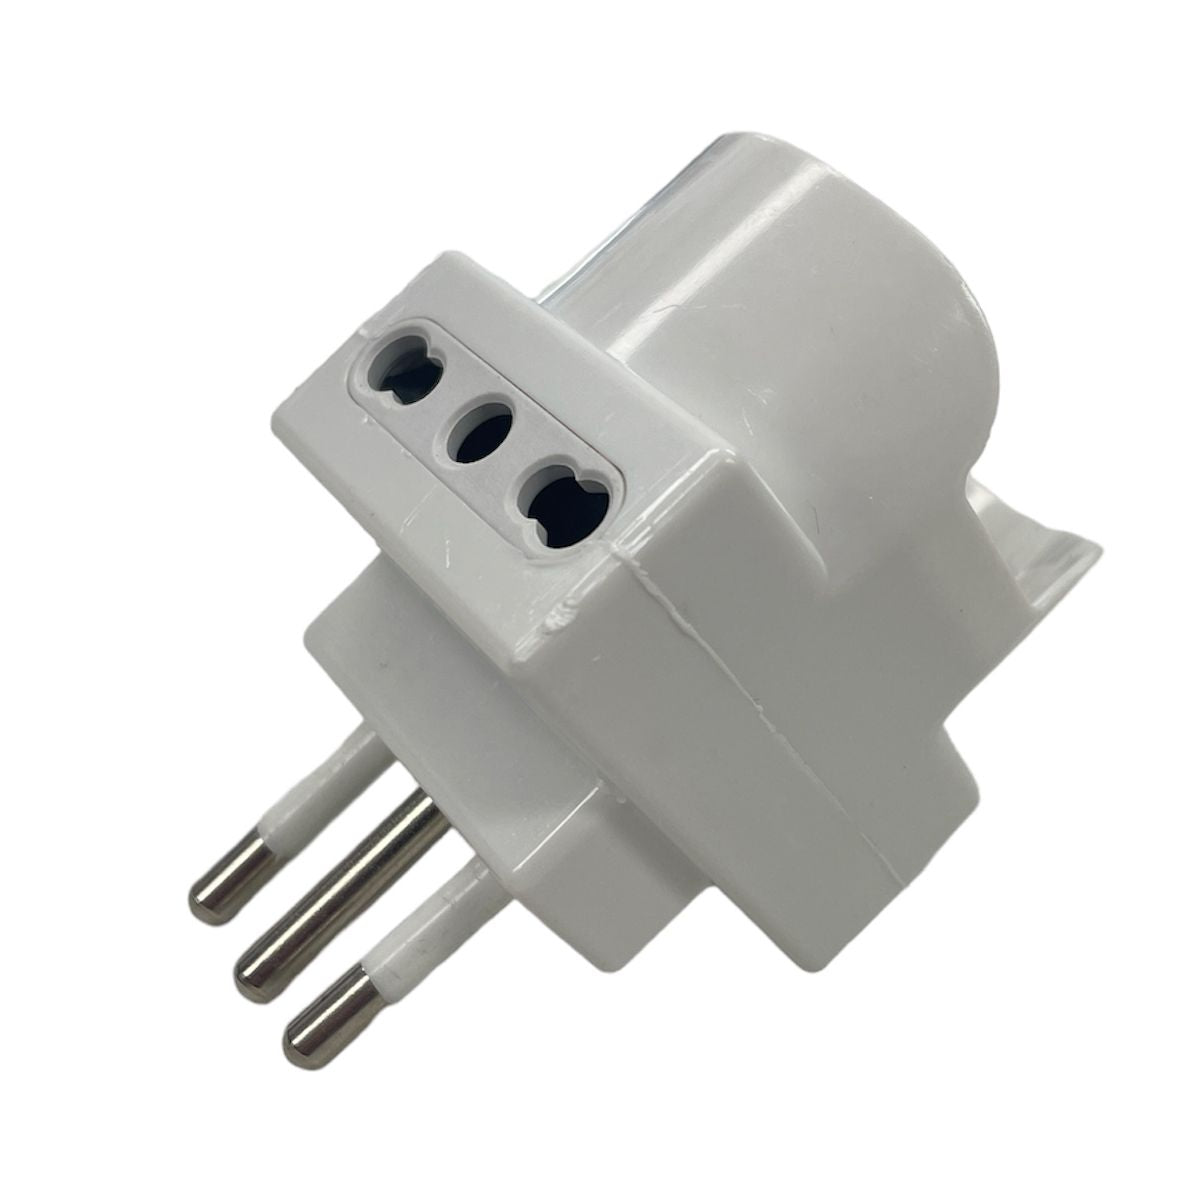
Imagine being able to time the light in your environment with sessions of just 15 minutes, adapting it to the different phases of the day. The Analogue Timer is equipped with a 16A plug and a 10/16A dual socket, making it suitable for any need. Simply set the desired time or switch-on time, connect the lamp to the timer and enjoy perfect lighting at the right time.

Simple and Versatile: A Solution for Every Need
The Analog Timer is not only a way to make your daily life more convenient, but it can also be your small contribution to sustainability. Keep lights on only when necessary, without worrying about leaving switches on.
Setup Steps:
-
Familiarize yourself with the Timer : Look at the dial that represents the 24 hours of the day, with little pins around it. Each peg represents a 15 minute interval.
-
Set the Current Time : Rotate the timer dial until the arrow drawn on the dial aligns with the current time.
-
Schedule On/Off Intervals : For each 15-minute interval in which you want the device to be turned on, push down the corresponding pin. For example, to turn on the device from 6:00 pm to 10:00 pm, press the pins from 6:00 pm to 10:00 pm.
-
Check the Setting : Check that the pegs are set correctly for the desired times.
-
Set the Mode Switch : If present, set the switch to the desired mode: continuous (the device always remains on) or timer (follows the programming of the pins).
-
Connect the Timer to the Electrical Outlet : Insert the timer into the electrical outlet.
-
Connect the Device to the Timer : Connect the device to be controlled to the timer socket.
-
Test Operation : Turn on the appliance and check that the timer works as expected, following the set intervals.
Useful Tips:
- Check the Maximum Power : Make sure the connected devices do not exceed 3500W.
-
Adjust for Variations : Adapt the pegs for changes in your routine or special occasions.
Timer Specifications:
- Maximum Power: 3500W.
- Switching capacity: 96 on/off every 24 hours.
- Plug type: Italian 16A.
- Socket: Bivalent 10/16A.
- LED indicator.
- Suitable for indoor use.
Celebrate Christmas in Style: The Analog Timer and Twinkling Lights!
Get ready for the holidays! The Analogue Timer is your secret ally to create a perfect Christmas atmosphere. Program your Christmas lights to automatically turn on and off at times that suit you, without having to deal with the complexity of advanced technology. Combine it with an electrical power strip and maximize your automation. Enjoy the enchantment of twinkling lights without stress!
Kickstart a More Connected Life with the Analog Timer. Buy it Now and Discover the Magic of Accessible Home Automation!

