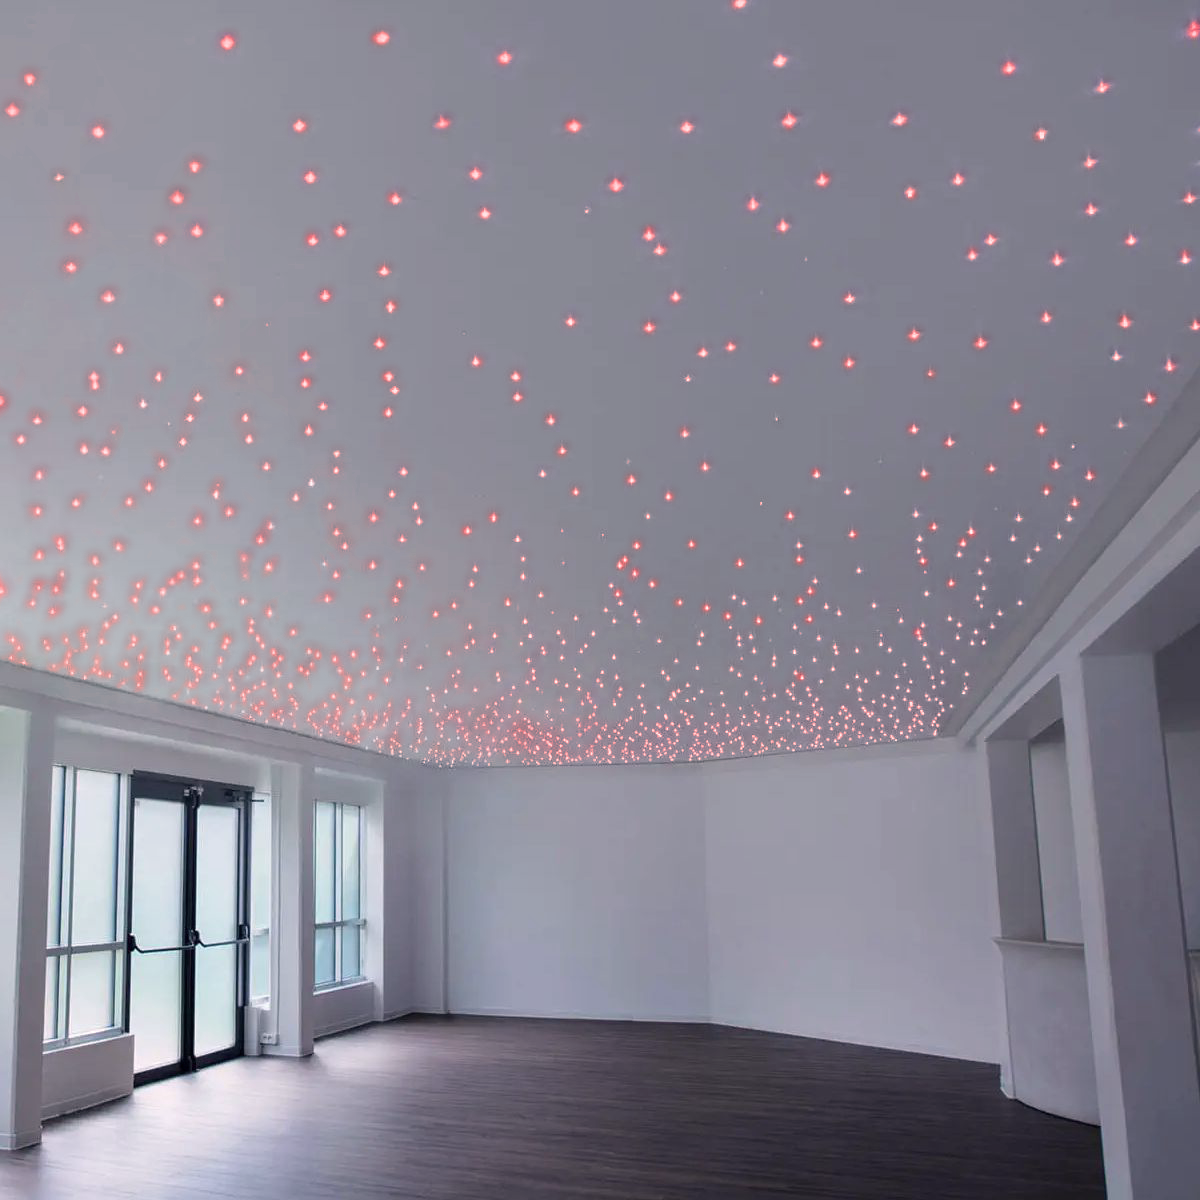


LED Starry Sky Effect: Complete Guide to Creation
Creating an LED starry sky at home has become a very popular trend for those looking to add a magical touch to their bedroom or other environments. This step by step guide will show you how to build a LED starry sky , using LED starry sky kits offered by Oniroview and specific techniques to obtain a fascinating starry sky LED lighting effect .
This guide was designed using 50 cold white light and 50 blue light spotlights but can be customized using all the other available colours.
Necessary Materials for Your LED Starry Sky
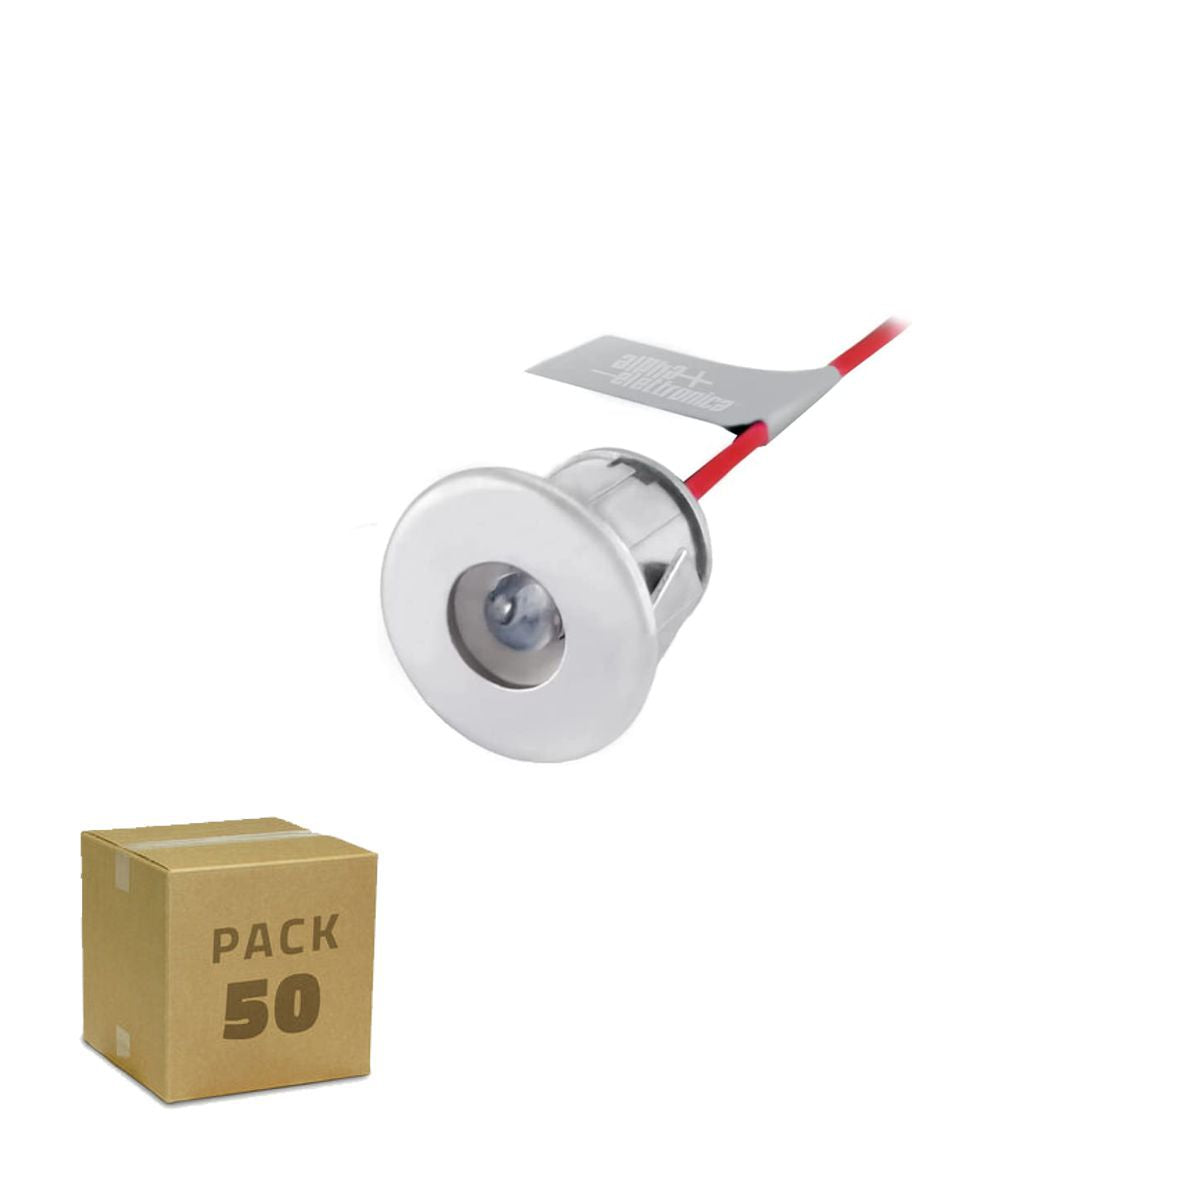
To get started, you will need some essential materials, including starry sky LEDs that are perfectly suited to the desired effect. An LED starry sky kit usually includes everything you need, but make sure it includes:
- LED mini spot (mixture of 6000K white light and blue light)
- Polarized cable (red and black)
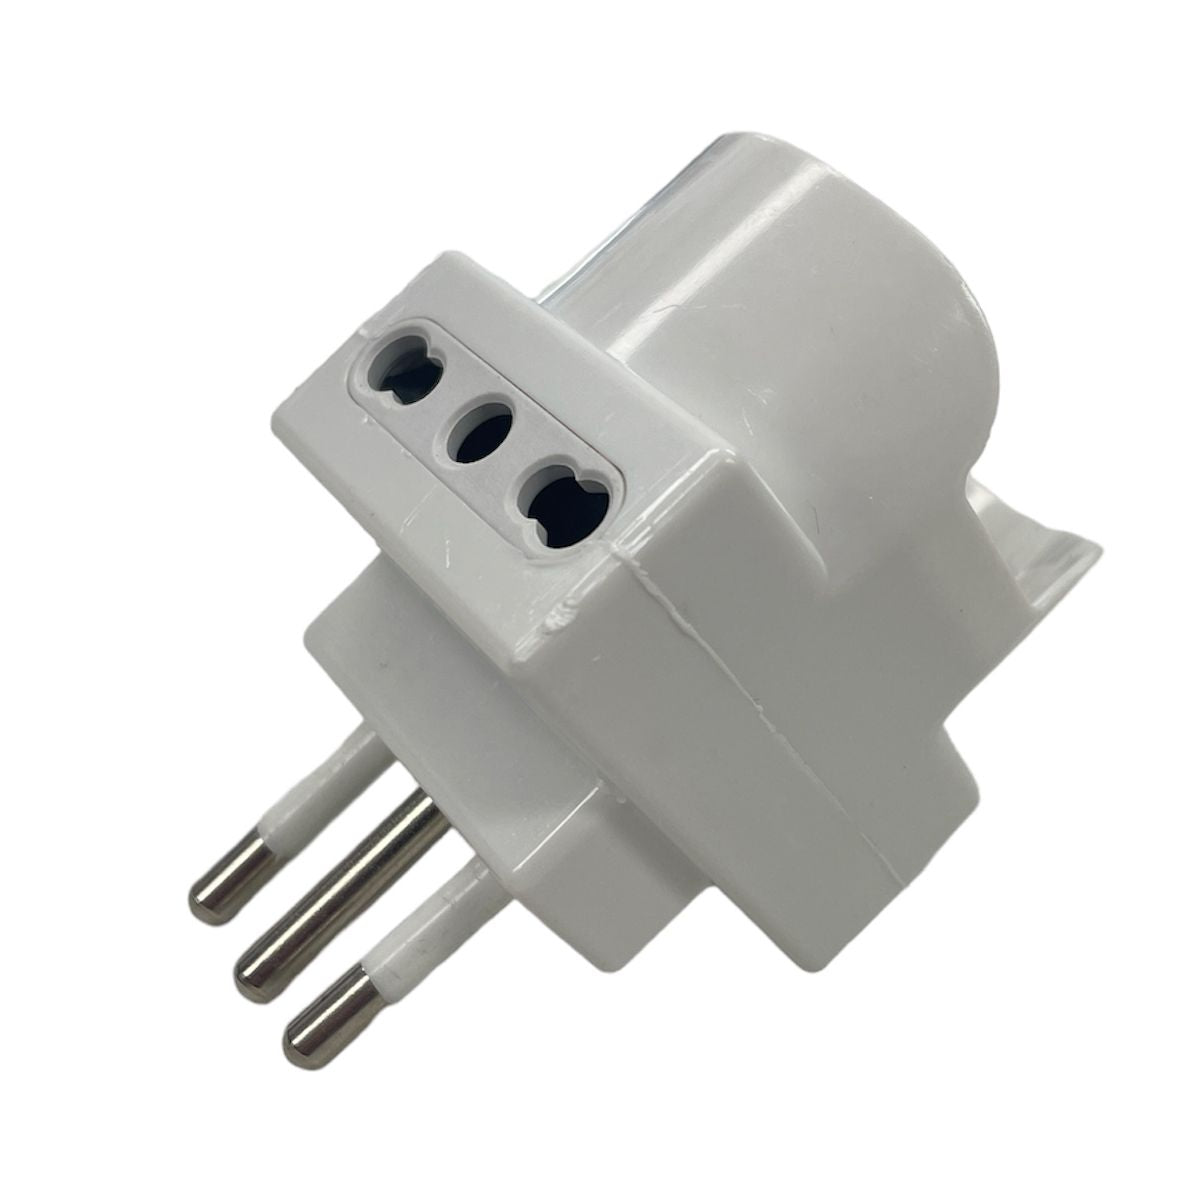
- Transformer suitable for the number of spotlights
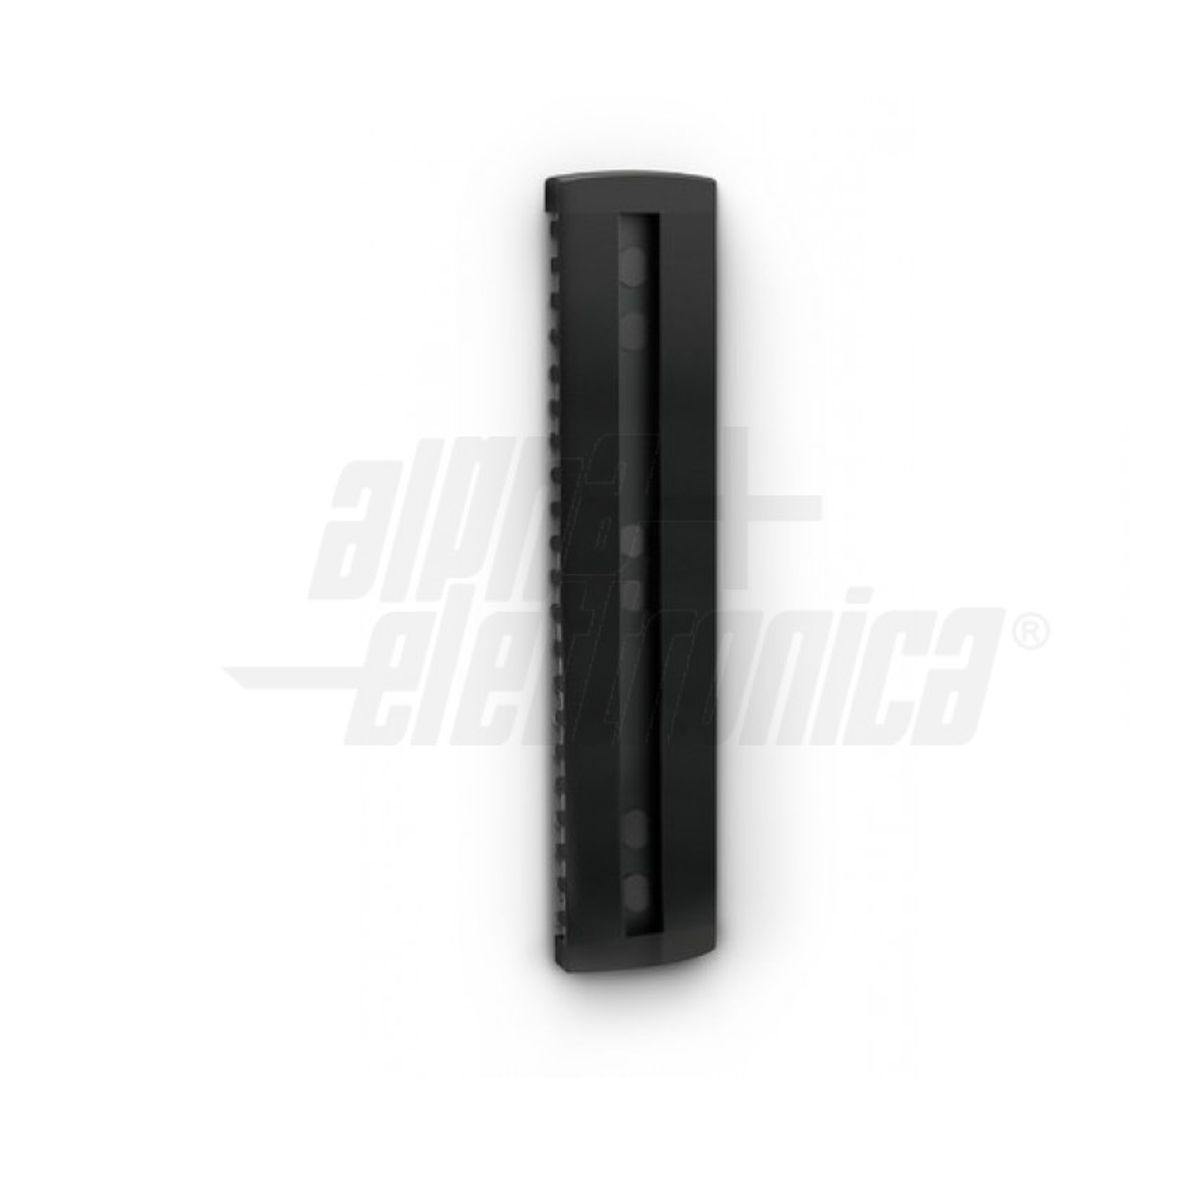
- Dimmer (to adjust the intensity of the light) - OPTIONAL
- Plasterboard panel or false ceiling
- Drill with 13mm tip
- Painting materials
- Caps for electrical connections
These components are crucial for creating an evocative starry sky effect in your bedroom or any other space you desire.
Steps for Creating an LED Starry Sky
Preparation
First of all, choose a plasterboard panel or ceiling to work on. It is essential that it is accessible from both sides to facilitate the installation and wiring of the starry sky LEDs .
Determine the arrangement of the spotlights for an authentic starry sky effect. Use creativity for personalized designs.
Installation
-
Panel Preparation: Use a 13mm drill bit to drill the plasterboard according to the layout chosen for your starry sky effect LEDs .
-
Inserting the Spotlights: Place the mini LED spots in the holes. Make sure your LED starry sky kit is adequate for the desired effect. The 13mm holes guarantee a perfect fit.
-
Electrical Wiring: Wiring must be done in parallel, using electrical connection caps to ensure secure connections. Route all connections to the transformer.
-
Assembly and Finishing: Fix the panel to the ceiling and proceed with painting for an aesthetically pleasing result.

Variant with Dimmer
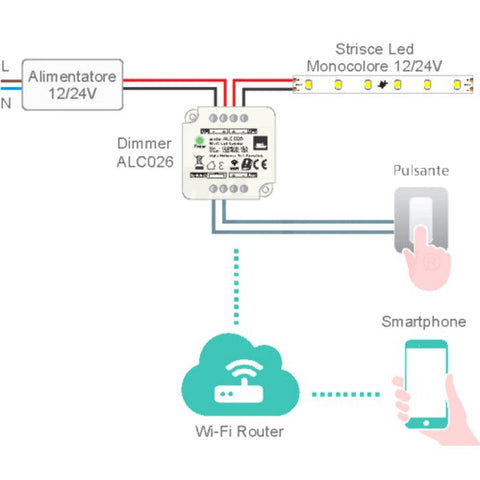
Adding a dimmer between the power supply and the spotlights allows you to adjust the intensity of the light of your LED starry sky , offering the possibility of creating the perfect atmosphere at all times.
Necessary material
- 12V compatible dimmer
- Physical button ( basic version ) or smart life button and app ( plus version )
Connection Diagram
- Power supply: Connect the 220V power supply to the mains.
- Dimmer: Connect the power supply output to the dimmer input.
- Dimmer Output: Connect the dimmer output to the LED spotlights.
- Control: Use the physical button or the app to adjust the intensity.
Tips for a Safe Installation
When creating your LED starry sky, it is essential to pay attention to detail to avoid inconveniences. Here are some tips to ensure your installation goes smoothly:
-
Pay Attention to Polarity: Make sure you do not reverse the polarity when connecting the LED spotlights to the power supply. An incorrect connection can cause damage to the spotlights. Remember: the red wire is the positive and must be connected to the positive pole of the 12V power supply, while the black wire is the negative and must be connected to the negative pole.
-
Correct Connection to the Power Supply: It is essential to correctly identify the 220V input and the 12V output of the power supply. An error at this stage could compromise the entire system.
-
Using the Dimmer: If you decide to add a dimmer to adjust the intensity of the light, carefully follow the connection diagram provided in the instructions. The dimmer has a 12V input, which must be connected to the power supply output, and a 12V output for the spotlights. Furthermore, the physical button for turning on, off and dimming must be connected to the designated terminals on the dimmer.
-
Positioning of the Power Supply: To facilitate future maintenance or replacement in the event of a fault, place the power supply in an easily accessible place. This will allow you to intervene quickly without having to dismantle complex parts of the installation.
By following these tips, you will be able to enjoy your LED starry sky without worries, creating a magical and safe atmosphere in your room.
Conclusions
By following this guide, you will be able to create a fascinating LED starry sky , adding a touch of magic to your bedroom or any other environment. By choosing the right LEDs for starry skies and applying the steps described, you will be able to enjoy a unique and personalized LED starry sky effect lighting .
Ready to Transform Your Room into a Starry Sky? Discover our exclusive LED Starry Sky Kit ! With everything you need to get started on your project, our kit has been specially designed to ensure simple installation and a breathtaking starry effect. Explore our kit now and start creating your own starry oasis. Find out more and buy here .